Building 2d animations using Inkscape and Synfig
In this blog post we want to share a method to animate Inkscape SVG objects using Synfig Studio, trying to follow a similar approach to the Building 2d sprites from 3d models using Blender blog post.
A small introduction about Inkscape
Inkscape is one of the best open source, multi platform and free tools to work with vector graphics using the open standard SVG.
After some time using Inkscape, I have learned how to make a lot of things and feel great using it. However, it lacks of some features which would make it a great tool, for example, a way to animate objects by making interpolations of its different states defining key frames and using a time line, among others.
It has some ways to create interpolations of objects between two different states but it is unusable since it doesn’t work with groups, so if you have a complex object made of a group of several other objects, then you have to interpolate all of them. If you make some modification on of the key frames, then you have to interpolate everything again.
Synfig comes into action
Synfig Studio is a free and open-source 2D animation tool, it works with vector graphics as well. It lets you create nice animations using a time line and key frames and lets you easily export the animation. However, it uses its own format, so you can’t directly import an SVG. Luckily, the format is open and there are already some ways to transform from SVG to Synfig.
In particular I tried an Inkscape extension named svg2sif which lets you save files in Synfig format and seems to work fine (the page of the extension explains how to install it). I don’t know possible limitations of the svg2sif Inkscape extension, so use it with caution, don’t expect everything to work fine.
Now that we have the method defined, we will explain it by showing an example.
Creating an object in Inkscape
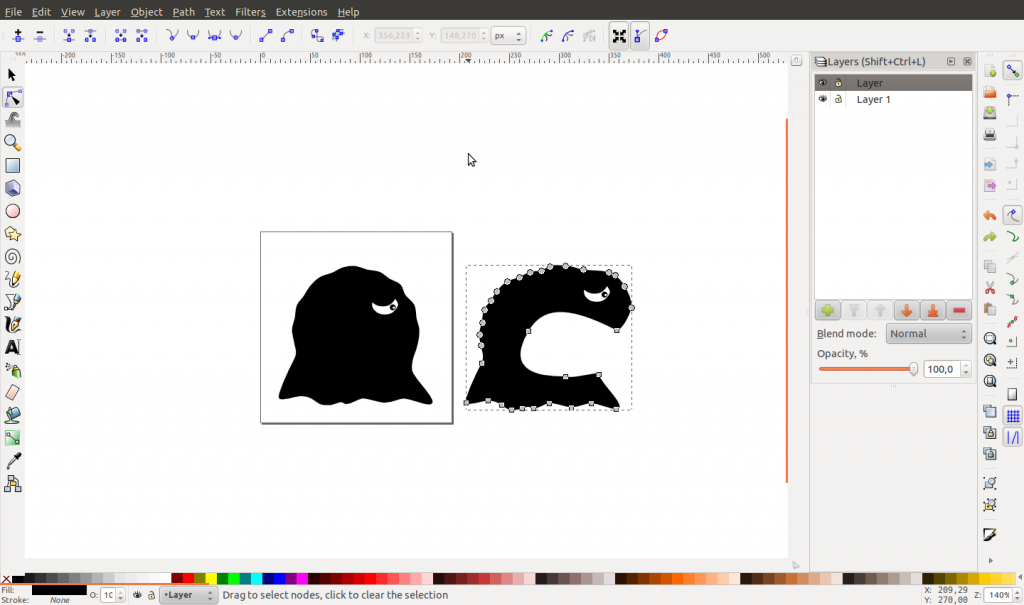
We start by creating an Inkscape object to be animated later. For this mini tutorial I created a black creature named Bor…ahem! Gishus Maximus:
Here is the SVG if you are interested on it, sadly WordPress doesn’t support SVG files as media files.
With the model defined, we have to save it as Synfig format using the extension, so go to “Save a Copy…” and select the .sif format (added by the svg2sif extension), and save it.
Animating the object in Synfig
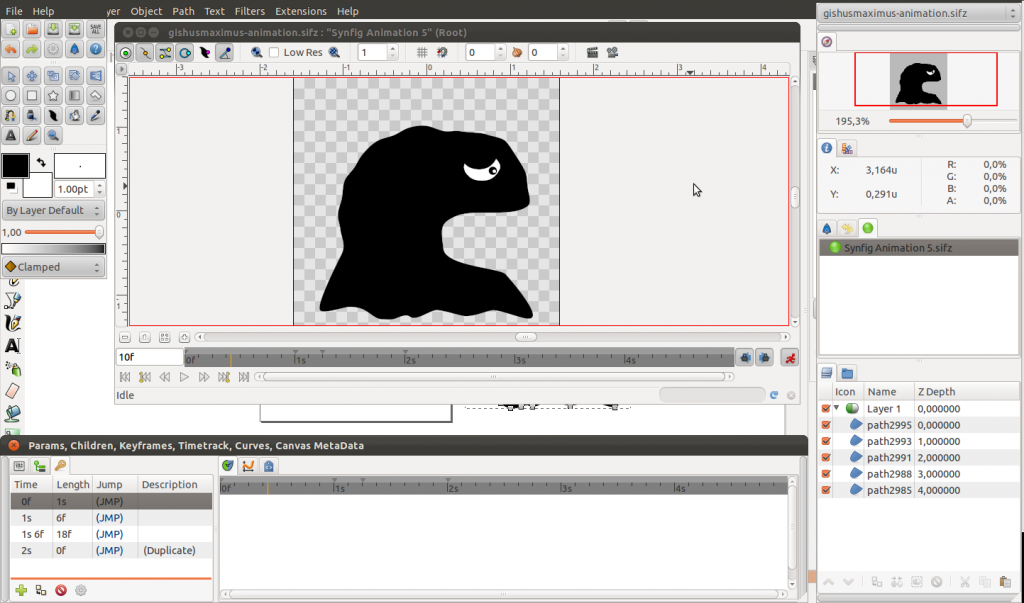
Now that we have the Synfig file we open it and voilà, we can animate it. However, there is a bug, probably with the svg2sif extension and the time line is missing. To fix it, we have to create a new document and copy the shape from the one exported by Inkscape to the new one.
The next step is to use your super animation skill and animate the object. In my case I created some kind of eating animation by making a mouth, opening it slow and then closing it fast:
Here is the Synfig file with the animation if you are interested on it.
To export it, use the “Show the Render Settings Dialog” button and configure how much frames per second you want, among other things, and then export it using the Render button. You can export it to different format, for example, a list of separated PNG files for each animation frame or an animated GIF. However, it you can’t configure some of the formats and the exported file is not what I wanted so I preferred to export to a list of PNG files and then use the convert tool to create the animated GIF:
Finally, I have a time lapse of how I applied the method if you want to watch it:
Extra section: Importing the animation in your game
After we have separated PNG files for the animation, we can create a sprite sheet or use another tools to create files to be easily imported by a game framework. For this example, I used a Gimp plug-in named Sprite Tape to import all the separated PNG files and create a sprite sheet:
If you are a LibGDX user and want to use the Texture Packer, you can create a folder and copy the PNG files changing their names to animationname_01, animationname_02, etc, and let Texture Packer to automatically import it.
Conclusions
One problem with this method is that you can’t easily modify your objects in Inkscape and then automatically import them in Synfig and update the current animation to work with it. So, once you moved to Synfig you have to keep there to avoid making a lot of duplicated work. This could be avoided if Inkscape provided a good animation extension.
Synfig Studio is a great tool but not the best of course, it is not intuitive (as Gimp, Blender and others) and it has some bugs that make it explode without reason. On the other hand, it is open source, free and multi platform and the best part is that it works well for what we need right now 😉
This method allow us to animate vector graphics which is great since it is a way for programmers like us to animate their programmer art 😀
Finally, I am not an animation expert at all, so this blog post could be based on some wrong assumptions. So, if you are one, feel free to correct me and share your opinions.
As always, hope you like the post.


